SCSachse Carpenters
    469-273-6805
    • 10 Years of Carpentry Experience
    • Insured
    • Serving Sachse & Nearby Communities

    Crown Molding Installation in Sachse, TX

    Sachse Carpenters installs crown molding and related finish trim for homes throughout Sachse and nearby communities, with careful attention to profile fit, corners, ceiling transitions, and existing room details. With 10 years of hands-on carpentry experience and insured crews, we fit crown to the actual wall and ceiling — within our 20-mile service area.

    Crown work here uses paint-grade MDF or poplar and stain-grade hardwood, with coped inside corners, scarf joints on long runs, compound miters at outside corners, and scribe adjustments where the wall or ceiling is uneven. From whole-room crown to cabinet crown and light rail trim, every run is fitted to the room.

    crown molding installation in Sachse TX

    Request a Crown Molding Estimate

    Tell us about your project. We'll follow up to schedule a walkthrough.

    Call 469-273-6805

    By submitting, you agree to our Privacy Policy and Terms & Conditions.

    Why Choose Sachse Carpenters for Crown Molding in Sachse, TX

    Crown molding is the most visible finish trim in a room, and the difference between a clean installation and a poor one is in the corners, the long runs, and the transitions — not the profile itself. A coped inside corner stays tight where a mitered one opens up, and a scarf joint on a long run hides the seam where a butt joint shows it. These are the reasons Sachse homeowners choose us for that work.

    10 Years of Hands-On Carpentry Experience

    10 years of on-site finish carpentry means the cope joints, scarf joints, and compound miters are handled by a crew that has fitted hundreds of rooms — not a first-time install.

    Insured Carpentry Work

    Sachse Carpenters is an insured carpentry business, and that coverage applies to every crown molding installation we perform inside your home.

    Finish-Carpentry Focus

    Crown molding is finish carpentry, not rough framing, and the work is approached with the fitting, the scribing, and the corner work that finish trim demands.

    Site-Fit Corner Work

    Inside corners are coped and outside corners are mitered to the actual wall, so the joints stay tight where the wall turns — the corner work is what holds the run together.

    Material-Aware Profile Selection

    The profile and the material — MDF, poplar, or hardwood — are selected to the finish approach and the room, so the crown reads as part of the architecture rather than applied trim.

    Coordination With Cabinets, Built-Ins, and Doors

    Cabinet crown, light rail trim, and transitions to door casing and built-ins are coordinated so the crown work integrates with the room's trim rather than clashing with it.

    Wall and Ceiling Irregularity Management

    Few walls and ceilings are perfectly straight, so the crown is scribed and the joints are left caulk-ready where the wall or ceiling wanders — the scribe is what lets the crown fit the room.

    20-Mile Service Area

    We serve Sachse and nearby communities within a 20-mile service area, so the crown is measured, cut, and installed by the same local crew.
    Learn more about our carpentry background on the about page, or see the full finish carpentry scope on the trim & finish carpentry category page.

    Our Crown Molding Services

    Crown molding work covers whole-room runs, whole-home runs, cabinet crown and upper trim, and complex corners and ceiling transitions — each fitted and installed by our carpentry crew within the 20-mile service area around Sachse.

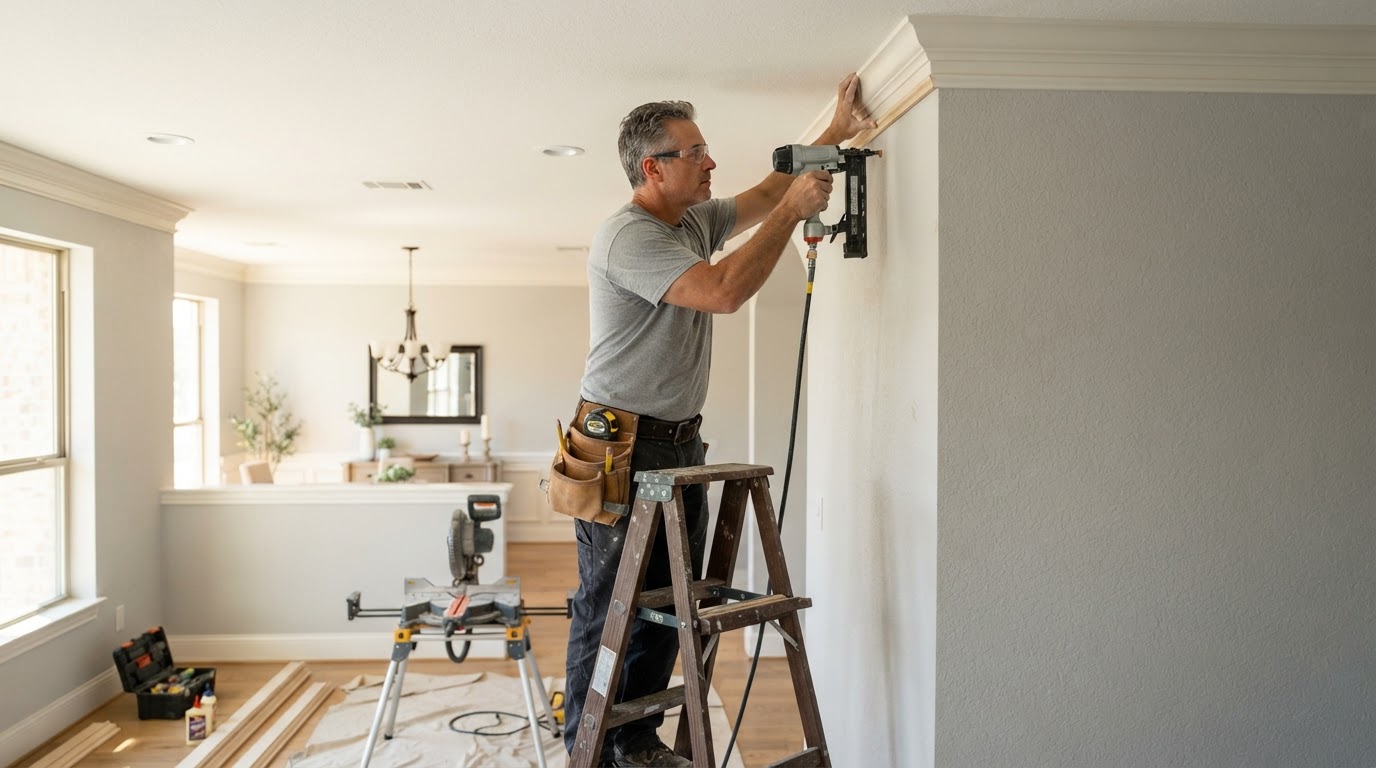
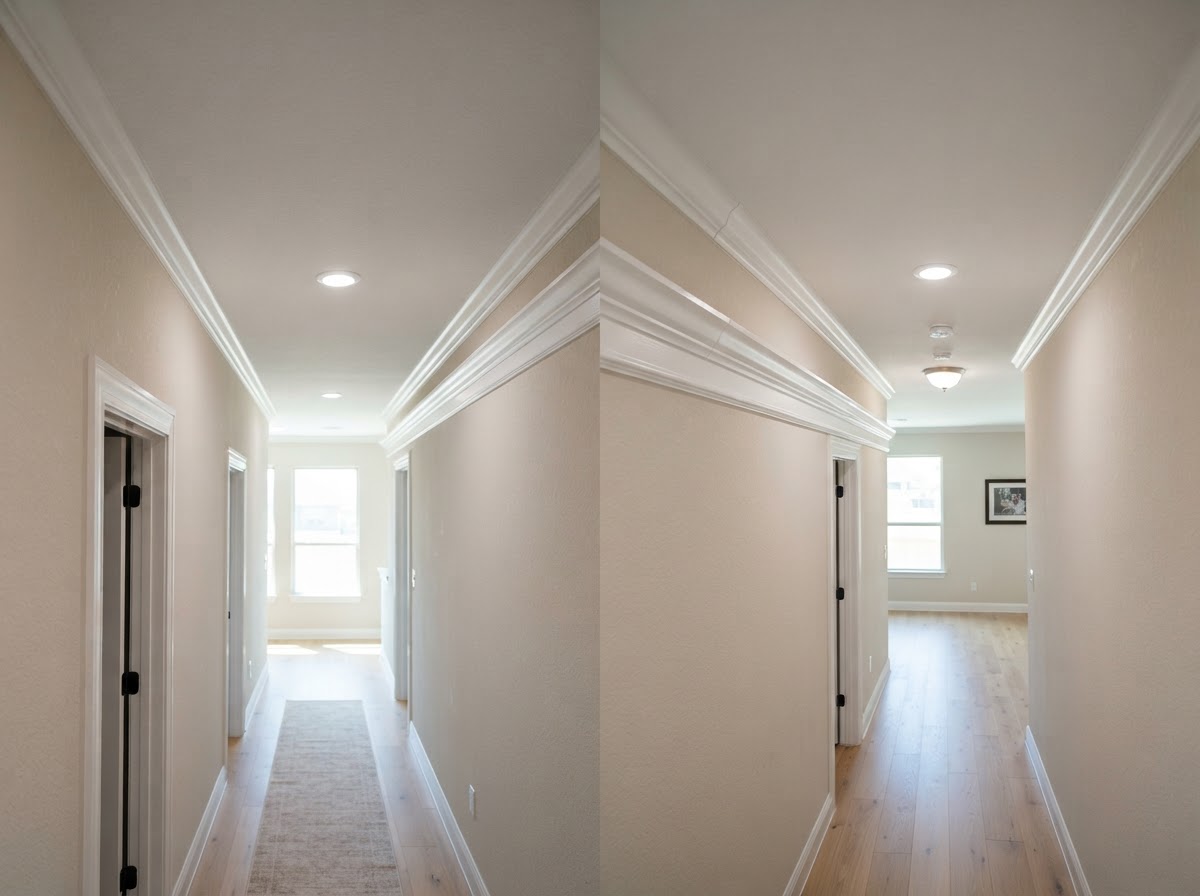
    long run of crown molding in a Sachse TX hallway

    Whole-Room Crown Molding

    We install whole-room crown molding in Sachse-area living rooms, dining rooms, bedrooms, and hallways — a single run of crown fitted to the wall-to-ceiling transition. Each room is measured and the crown is cut to the actual dimensions rather than applied from a template.

    Whole-room crown uses paint-grade MDF or poplar and stain-grade hardwood, with coped inside corners, scarf joints on long runs, compound miters at outside corners, and scribe adjustments where the wall or ceiling is uneven. The spring angle is set to the profile and the joints are left caulk-ready.

    You get clean wall-to-ceiling transitions, tight corners, a consistent profile, and a finished ceiling-to-wall detail that completes the room.

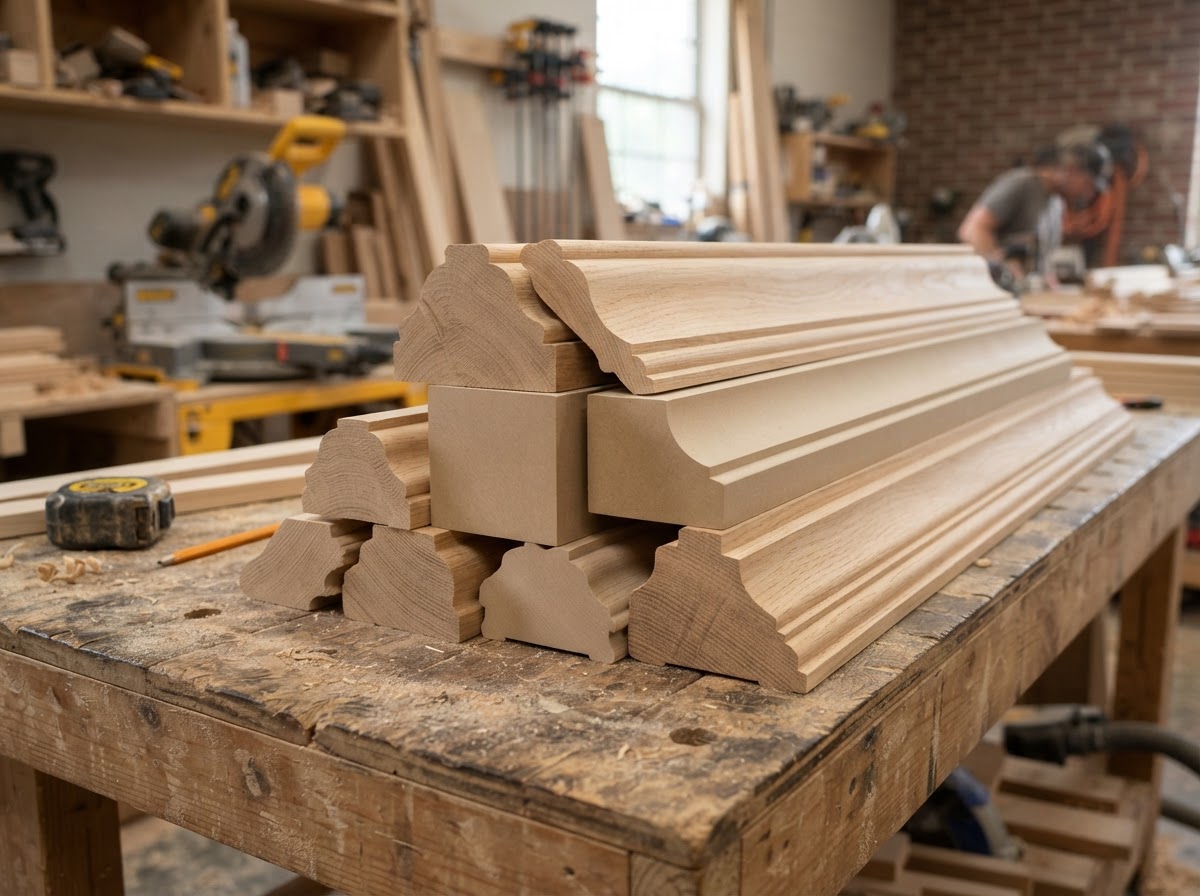
    crown molding profiles for a whole-home installation in Sachse TX

    Whole-Home Crown Molding

    We install whole-home crown molding across multiple rooms in Sachse-area homes, coordinating the profile and the material so the crown reads as consistent from room to room. Each room is measured and the runs are planned so the transitions land cleanly.

    Whole-home crown uses a consistent profile and material — MDF, poplar, or hardwood — with coped inside corners, scarf joints, and compound miters throughout. The profile scale is selected to the ceiling height so the crown reads proportionate in every room.

    The outcome is a home with consistent crown continuity, tight corners throughout, and a coordinated finish that ties the rooms together.

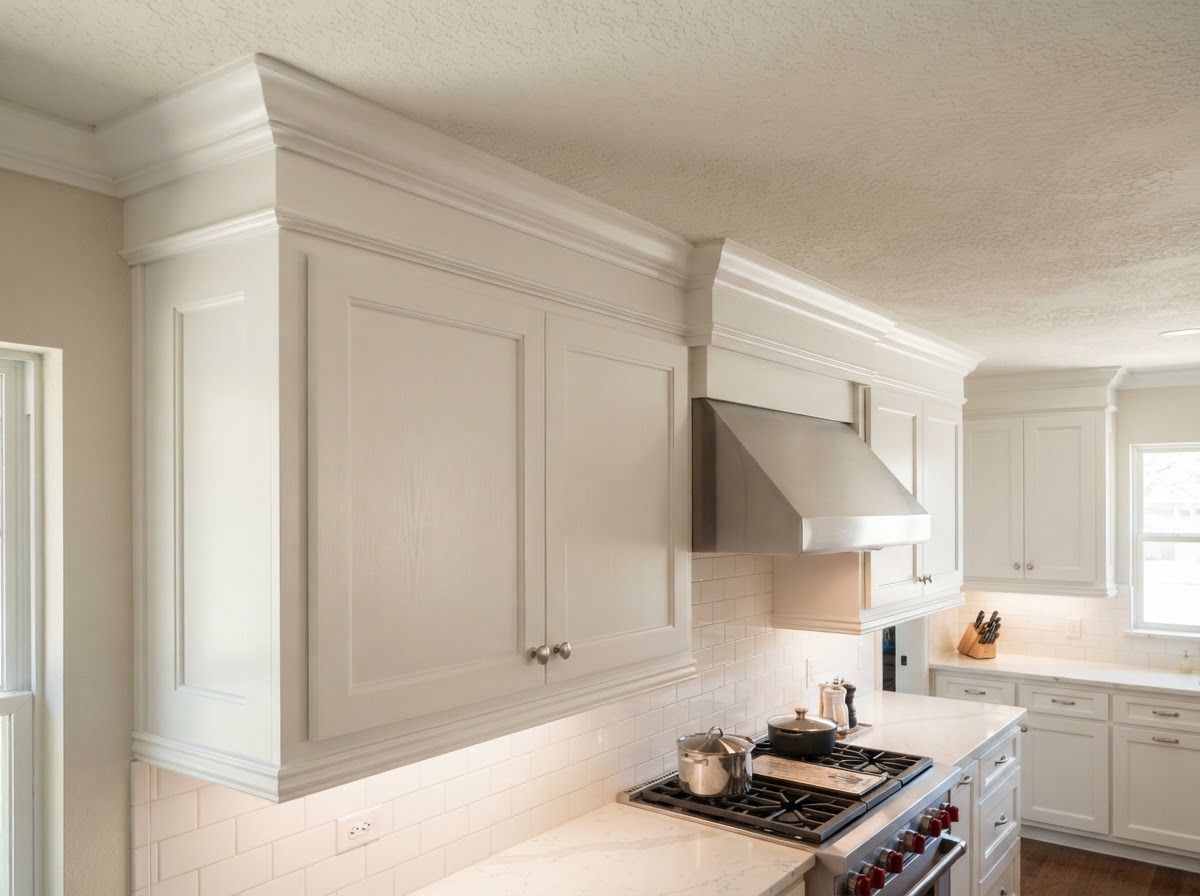
    cabinet crown molding in a Sachse TX kitchen

    Cabinet Crown and Upper Trim

    We install cabinet crown and light rail trim on kitchen cabinetry and built-ins in Sachse-area homes, coordinating the crown profile with the room crown so the cabinetry reads as integrated. The cabinet crown is cut to the cabinet run and scribed to the ceiling where the wall is uneven.

    Cabinet crown uses paint-grade MDF or poplar, with light rail trim at the bottom of the upper cabinets to hide under-cabinet lighting. The crown is fastened to the cabinet face frames and scribed to the ceiling, with returns at the ends of the run.

    You get cabinetry that reads as integrated with the room, a clean ceiling transition, and a finished upper trim detail that completes the cabinet installation.

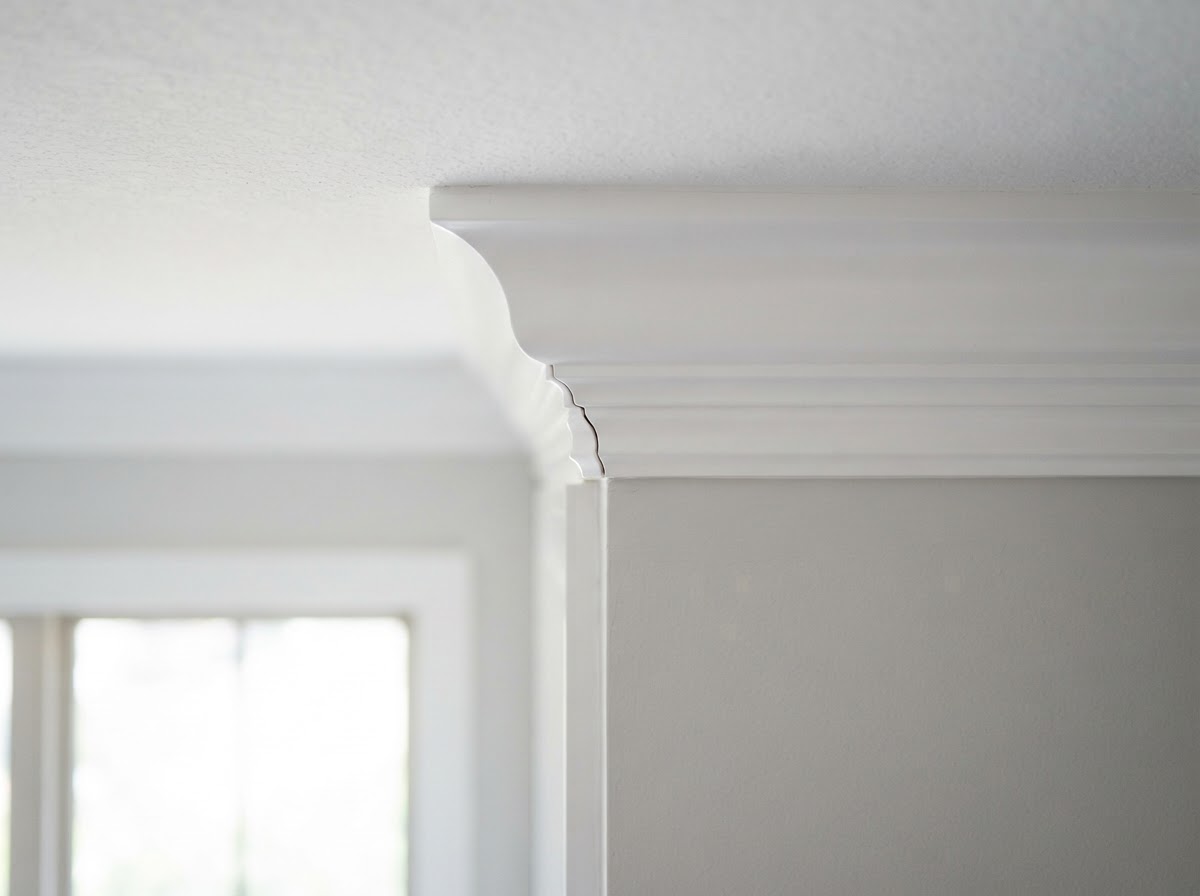
    coped inside corner on crown molding in Sachse TX

    Complex Corners and Ceiling Transitions

    We handle complex corners and ceiling transitions in Sachse-area homes with vaulted, angled, or non-standard ceilings — compound miters at the peak and the valley, and coped corners where the wall turns. Each transition is measured and the crown is cut to the actual angle.

    Complex transitions use compound miters cut to the spring angle and the wall angle, with cope joints at inside corners and returns at the ends of the run. The crown is scribed where the ceiling wanders, and the joints are left caulk-ready for a tight fit.

    The result is clean transitions at vaulted and angled ceilings, tight corners throughout, and a profile that follows the ceiling rather than fighting it.

    Common Crown Molding Problems We Correct

    These are the crown molding problems we see most often in Sachse homes — and the fitting work that corrects them.

    Open or Separating Corner Joints

    Open or separating corner joints happen when inside corners are mitered instead of coped, so the joint opens up with seasonal movement. We correct this by coping the inside corner so the joint stays tight, and re-fitting the outside corner with a compound miter.

    Uneven Wall-to-Ceiling Gaps

    Uneven wall-to-ceiling gaps happen where the wall or ceiling wanders, leaving a gap behind the crown. We correct this with scribe adjustments that follow the wall, and caulk-ready joints that close the gap cleanly.

    Mismatched Profiles Between Rooms

    Mismatched profiles between rooms happen when different crown profiles are installed without coordination, so the trim reads as inconsistent. We correct this by selecting a consistent profile and material, or a coordinating profile where an exact match is not available.

    Poor Transitions Around Cabinets or Built-Ins

    Poor transitions around cabinets or built-ins happen when the room crown meets the cabinet crown without coordination, leaving a clash. We correct this by coordinating the profiles and scribing the cabinet crown to the ceiling so the transition reads as integrated.

    Signs You Need Crown Molding Installation or Replacement

    These are the signs a Sachse room is ready for new crown molding — or for replacement of crown that was poorly fitted.

    Visually Unfinished Rooms

    A room with a flat wall-to-ceiling transition and no crown reads as visually unfinished, with no detail to cap the wall. Crown molding adds that cap and gives the room a finished, architectural base at the ceiling.

    Damaged Existing Crown

    Damaged existing crown — split, dented, or separated at the joints — detracts from the room and should be replaced. We remove the old crown and install new trim with coped corners and scarf joints.

    Poorly Fitted Joints

    Poorly fitted joints — open inside corners, mismatched outside corners, gaps on long runs — are signs the crown was not fitted to the room. We re-fit the crown with coped corners and scribed transitions so the joints are tight.

    New Cabinets or Built-Ins Needing Coordinated Trim

    New cabinets or built-ins that need coordinated trim are a sign the room crown and the cabinet crown should be planned together. We coordinate the profiles so the cabinetry reads as integrated with the room.

    Room Remodels Where Trim No Longer Matches

    A room remodel where the trim no longer matches — new drywall, new doors, new paint — is a sign the crown should be updated to coordinate. We select a profile and material that fits the remodeled room.

    Our Crown Molding Installation Process

    Every crown molding project follows the same sequence so the profile, the corners, and the transitions all land where they should.

    Step 1: Evaluate the Room and Existing Trim

    We start by measuring the room, the ceiling height, the wall length, and the corners, and evaluating the existing trim and the wall and ceiling condition. The evaluation drives the profile and the layout plan.

    Step 2: Select the Profile and Material

    We select the crown profile and the material — MDF or poplar for paint-grade, hardwood for stain-grade — to the finish approach and the room. The profile scale is chosen to the ceiling height so the crown reads proportionate.

    Step 3: Plan Corners, Returns, and Transitions

    We plan the inside corners (coped), the outside corners (compound miters), the scarf joints on long runs, and the returns at the ends of the run. The transitions to cabinets, built-ins, and door casing are planned so the crown integrates.

    Step 4: Cut, Fit, and Install

    The crown is cut to the spring angle, coped at inside corners, mitered at outside corners, and fastened to the wall and the ceiling with finish nails. The joints are scribed where the wall wanders and left caulk-ready for a tight fit.

    Step 5: Inspect Profile Continuity and Alignment

    The installed crown is inspected for profile continuity, corner fit, joint tightness, and overall alignment. The work is not called complete until the crown reads as a continuous, tight run around the room.

    How Much Does Crown Molding Installation Cost in Sachse?

    Crown molding installation in Sachse runs approximately $5–$55 per linear foot as a broad DFW planning range, with the final estimate set by the linear footage, the profile size, the material, the ceiling height, the corner count, and the room geometry. The values below are typical DFW planning context — not guaranteed Sachse Carpenters pricing — and we provide a written estimate after measuring the room.

    Updated: September 2026.

    Crown Molding Pricing

    Crown molding is priced by the linear foot, scoped to the wall length, the profile size, and the material. A small paint-grade profile in a single room sits at the lower end, while a large stain-grade hardwood profile in a tall-ceiling room with many corners sits at the higher end.

    What changes the price: linear footage, profile size, MDF versus poplar versus hardwood, ceiling height, inside and outside corners, room geometry, paint-grade versus stain-grade, cabinet crown, existing trim removal, and complex transitions.

    Cabinet Crown and Light Rail Pricing

    Cabinet crown and light rail trim are priced by the project, scoped to the cabinet run length and the ceiling scribe work. A straight cabinet run with no ceiling scribe costs less than a run scribed to an uneven ceiling.

    What changes the price: cabinet run length, ceiling scribe work, light rail trim, profile size, material, and paint-grade versus stain-grade.

    What Makes Crown Molding Cost More?

    Several choices push a crown molding project toward the higher end of its range. These are the upgrades and conditions that add labor, material, or fitting complexity.

    What changes the price: stain-grade hardwood, large profiles, tall or vaulted ceilings, a high corner count, complex transitions, cabinet crown scribe work, and existing trim removal.

    Crown Molding Details That Affect the Finished Look

    These are the details that separate a clean crown molding installation from a poor one — the corners, the joints, the scale, and the material.

    Coped Inside Corners

    A coped inside corner is cut to follow the profile of the adjacent piece, so the joint stays tight through seasonal movement where a mitered inside corner opens up. Coping is the standard for inside corners because it tolerates the wall and the wood moving without showing a gap.

    Scarf Joints on Long Runs

    A scarf joint on a long run is cut at an angle so the two pieces overlap and the seam hides along the length of the profile. A scarf joint is less visible than a butt joint on a long run, and it is the standard for splicing crown where a single piece will not reach.

    Profile Scale

    Profile scale is the size of the crown relative to the ceiling height and the room — a large profile in a low-ceiling room reads as heavy, and a small profile in a tall-ceiling room reads as thin. The profile is selected to the ceiling height so the crown reads proportionate.

    Paint-Grade vs Stain-Grade Material

    Paint-grade material — MDF or poplar — takes paint evenly and suits painted crown where the profile, not the wood, is the detail. Stain-grade material — hardwood — shows the grain and suits stain finishes where the wood itself is the detail. The material is selected to the finish approach.

    Transitions Around Cabinets and Built-Ins

    Transitions around cabinets and built-ins are where the room crown meets the cabinet crown, and the coordination of the profiles is what makes the transition read as integrated. The cabinet crown is scribed to the ceiling and the profiles are coordinated so the cabinetry reads as part of the room.

    Frequently Asked Questions About Crown Molding

    Schedule Crown Molding Installation in Sachse

    Tell us about the room — the ceiling height, the wall length, the corner count, and the finish you want. We'll schedule a walkthrough, take field measurements, and provide a written estimate that breaks down the profile, the material, the corners, and the labor for your crown molding project.

    We handle crown molding across Sachse and nearby communities within our 20-mile service area, including the Woodbridge area, Heritage Park area, and neighborhoods along Sachse Road and SH 78. This is part of our trim & finish carpentry work — see the related services below.

    Request a Crown Molding Estimate

    Tell us about the room, the ceiling height, and the profile you want and we'll follow up to schedule a walkthrough.

    Call 469-273-6805

    By submitting, you agree to our Privacy Policy and Terms & Conditions.

    Related Finish Carpentry Services

    View all trim & finish carpentry or explore related work below.

    Call 469-273-6805